 Pin it
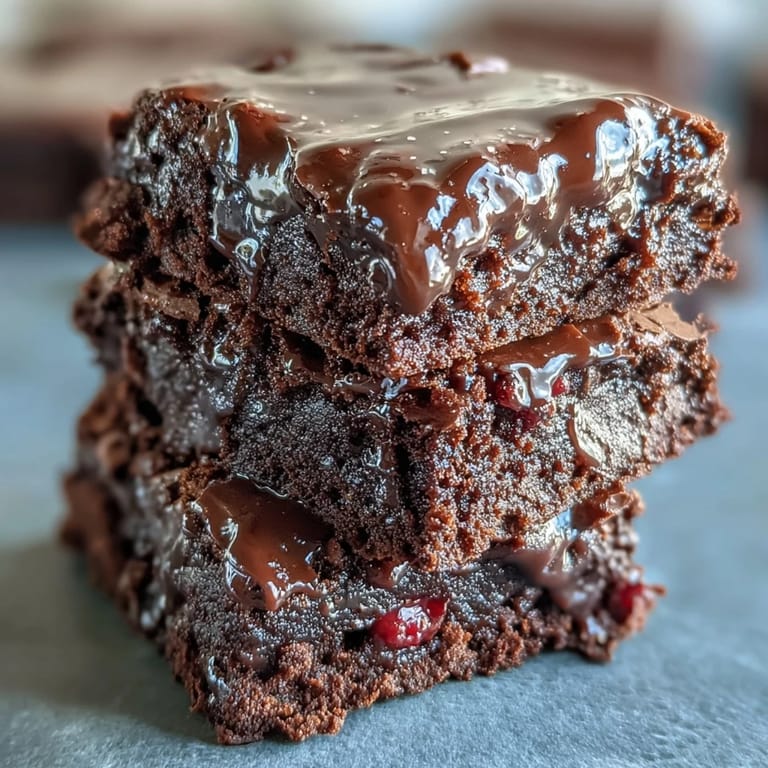
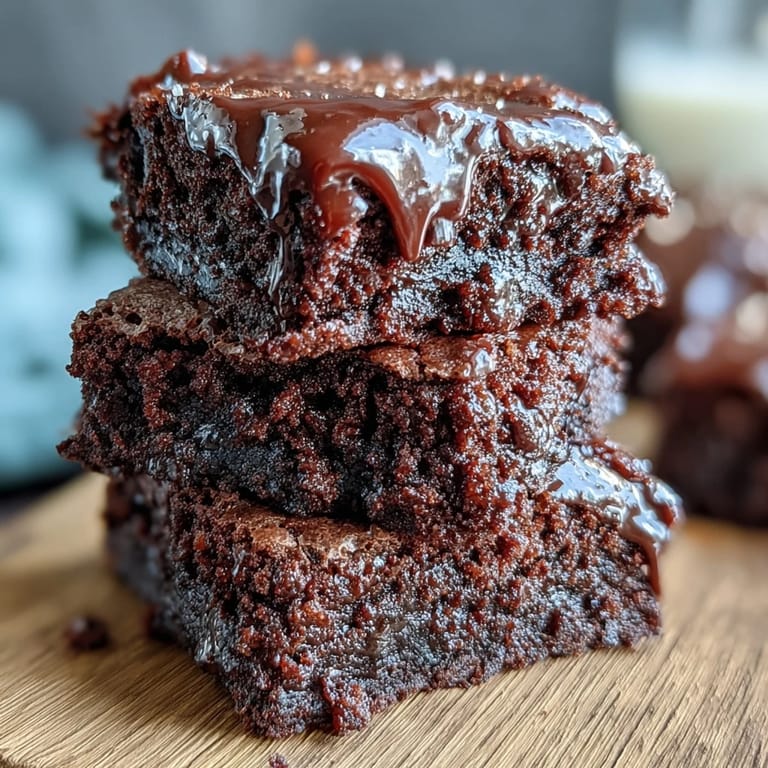
 My neighbor showed up at my door one Fourth of July morning with a plate of these tiny brownie bites, still warm and dusted with red, white, and blue sprinkles that caught the sunlight like little edible fireworks. I bit into one and realized immediately why she'd made a double batch—that fudgy center against the creamy frosting was dangerously addictive. I asked for the recipe that afternoon, and now every summer I find myself making these instead of the usual desserts, mostly because they disappear within minutes and everyone asks for seconds.
I brought a batch to a crowded backyard party last summer where nobody knew each other yet, and watching people light up when they grabbed one from the dessert table was like watching the actual fireworks later that night. By the time the sun set, the platter was empty and I'd been asked three times where I learned to make them.
Ingredients
- Unsalted butter (1/2 cup): Melted into the sugar and eggs, it creates the foundation for that fudgy texture that makes these bites special—using unsalted lets you control the salt balance.
- Granulated sugar (1 cup): This sweetens the brownie base and, when mixed with butter and eggs, creates a silky batter that bakes into tender crumbs.
- Large eggs (2): They bind everything together and add richness that keeps these from feeling cakey or dry.
- Vanilla extract (1 teaspoon for brownie, 1/2 teaspoon for frosting): A small amount deepens the chocolate flavor without making anything taste vanilla-forward.
- Unsweetened cocoa powder (1/3 cup): The backbone of the brownie—use good quality stuff because you taste it clearly in something this small.
- All-purpose flour (1/2 cup): Just enough structure to hold the bites together without making them dense or tough.
- Salt and baking powder (1/4 teaspoon each): Salt enhances chocolate depth, and baking powder gives a subtle lift so they're not hockey pucks.
- Cream cheese (4 oz) and butter (2 tablespoons): Softened and beaten together, they create a frosting that's tangy and stable enough to pipe without sliding off.
- Powdered sugar (1 cup): Makes the frosting sweet and fluffy—sift it first if it's lumpy or your frosting will be gritty.
- Milk (1-2 tablespoons): Adjust this to get the right consistency; you want it spreadable but not runny.
- Red, white, and blue sprinkles: The moment these go on, the brownies stop being just dessert and become a celebration.
Tired of Takeout? 🥡
Get 10 meals you can make faster than delivery arrives. Seriously.
One email. No spam. Unsubscribe anytime.
Instructions
- Get your pan ready:
- Preheat the oven to 350°F and grease a 24-cup mini muffin pan or line it with paper liners so your little brownies slip out cleanly. This takes two minutes and saves you from sticky situations later.
- Melt and mix the base:
- Melt the butter in a microwave-safe bowl (about 45 seconds), then stir in sugar, eggs, and vanilla until the mixture is smooth and glossy. Don't overthink this step—just get everything combined.
- Add the dry ingredients:
- Sift the cocoa powder into the wet mixture, then add flour, salt, and baking powder, stirring just until you don't see any flour streaks. Stop as soon as it comes together; overmixing makes tough brownies.
- Fill the pan:
- Using a small spoon or cookie scoop, divide the batter evenly among the muffin cups, filling each about three-quarters full. You're aiming for consistency so they bake at the same rate.
- Bake with intention:
- Slide into the oven for 12 to 15 minutes—you want a toothpick to come out with just a few moist crumbs clinging to it, not clean and dry. That's the secret to keeping them fudgy.
- Cool strategically:
- Let them sit in the pan for 5 minutes (this helps them firm up), then transfer to a wire rack to cool completely. Rushing this step and frosting warm brownies is how you end up with frosting soup.
- Beat the frosting:
- With softened cream cheese and butter, beat until creamy, then gradually add powdered sugar and vanilla, beating until fluffy and light. If it's too thick, add milk a teaspoon at a time until you hit that spreadable sweet spot.
- Frost and celebrate:
- Once brownies are cool, pipe or spread a dollop of frosting on each one—a piping bag looks prettier, but a small spatula works just fine. Top with sprinkles immediately so they stick to the frosting.
 Pin it
 There's a moment when you pull these from the oven and the kitchen smells like pure chocolate and celebration, and you know you've made something that's going to make people happy. That's the real magic of these little bites.
Why Mini Matters
Regular brownies are wonderful, but there's something about a brownie bite that changes the whole experience. You can eat one without committing to dessert, grab two at a party without feeling greedy, and they're the perfect size for sharing. Plus, they bake faster and stay moist longer because there's less cake to dry out.
The Frosting Makes the Difference
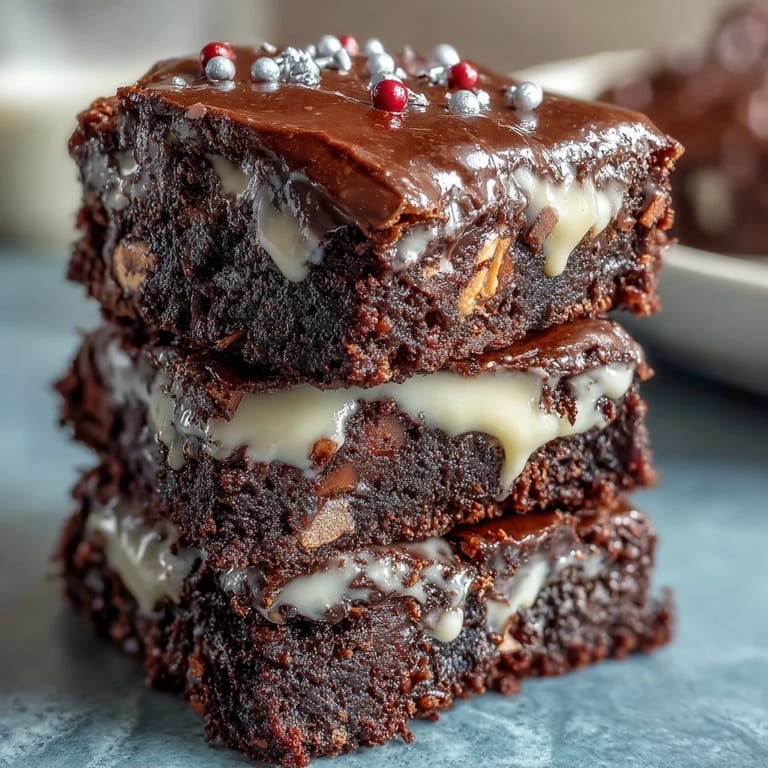
Some brownie recipes skip frosting entirely, but that cream cheese topping is what elevates these from good to unforgettable. It adds a subtle tang that balances the sweetness, and it creates a barrier that keeps the brownie fudgy even after a few days. The frosting is also what makes them pretty enough to serve at a party instead of just eating in the kitchen while pretending you're only having one.
Decorating and Customizing
The sprinkles are more than decoration—they're permission to make this dessert feel festive and fun. Beyond the classic patriotic theme, you can dress these up however you want: edible glitter for sparkle, pop rocks for crunch and surprise, crushed candy canes in December, or rainbow sprinkles for birthdays. The frosting is a blank canvas, and the small size means you can experiment with toppings without wasting a whole batch if something doesn't work.
- Make a test batch with different sprinkle combinations to find your favorite before the big party.
- If you're baking these ahead, store unfrosted brownies in an airtight container and frost them the morning of your event so they look fresh.
- These freeze beautifully—make double batches and freeze the unfrosted brownies for up to three months, then thaw and frost whenever you need a quick dessert.
 Pin it
 These brownie bites have become my go-to dessert for summer celebrations, potlucks, and those moments when you want to feel patriotic without overthinking it. One batch always disappears faster than you'd expect, which is exactly the point.
Recipe FAQs
- → How do I prevent the brownie bites from sticking to the pan?
Grease the mini muffin pan thoroughly or use paper liners to ensure easy removal of the brownie bites after baking.
- → Can I substitute the all-purpose flour for a gluten-free alternative?
Yes, a gluten-free flour blend can be used in equal amounts without affecting the texture significantly.
- → What is the best way to achieve a smooth frosting?
Beat the cream cheese and butter until creamy, then gradually add powdered sugar and vanilla while mixing to achieve a fluffy, smooth frosting.
- → How do I store these brownie bites to keep them fresh?
Store them in an airtight container in the refrigerator. They stay fresh for up to 3 days.
- → Can the frosting consistency be adjusted?
Yes, adding 1-2 tablespoons of milk helps to create a spreadable consistency suitable for piping or spreading.